


Side-by-Side Comparison (Space Timeline)
The Space Timeline feature allows you to showcase the evolution of a property by syncing multiple 3D tours in a synchronized, side-by-side view. Whether you are demonstrating renovation progress or comparing "staged vs. empty" units, this tool provides a powerful, interactive visual narrative for your clients.
🔗 Experience Link:
📺 Video Tutorial: Quick Setup
Watch the 90s walkthrough below to see the feature in action.
I. Essential Capture Standards (The Golden Rules)
The value of Space Comparison depends entirely on "Point Alignment." For the best experience, multiple captures of the same site must be consistent in three ways:
The "Three-Consistency" Principle
- Quantity: The total number of scan points must be the same for every capture.
- Sequence: The walking route and the order in which points are captured must be identical.
- Position: The physical location of the tripod for each point must be exactly the same.
Recommended Capture Workflow
- Initial Planning: Before the first scan (e.g., the raw shell stage), plan your route. We recommend placing small, discreet physical markers on the floor or recording the distance of each point from walls/doorframes.
- Establish a Baseline: After the first capture, verify the point sequence in VR. Create a Capture Map (e.g., Point 1: Foyer; Point 2: Center of Living Room).
- Replication: During subsequent visits, place the equipment at the exact marked spots in the same order.
Note: The alignment logic is based on Point Sequence Mapping. Even if you hide a point in the console-point management section, it still counts toward the sequence. If an extra point is captured by mistake, it is better to delete it or rescan, otherwise, all subsequent points will be misaligned.
II. Backend Configuration: Setup & Management
Follow these steps as demonstrated in the tutorial video:
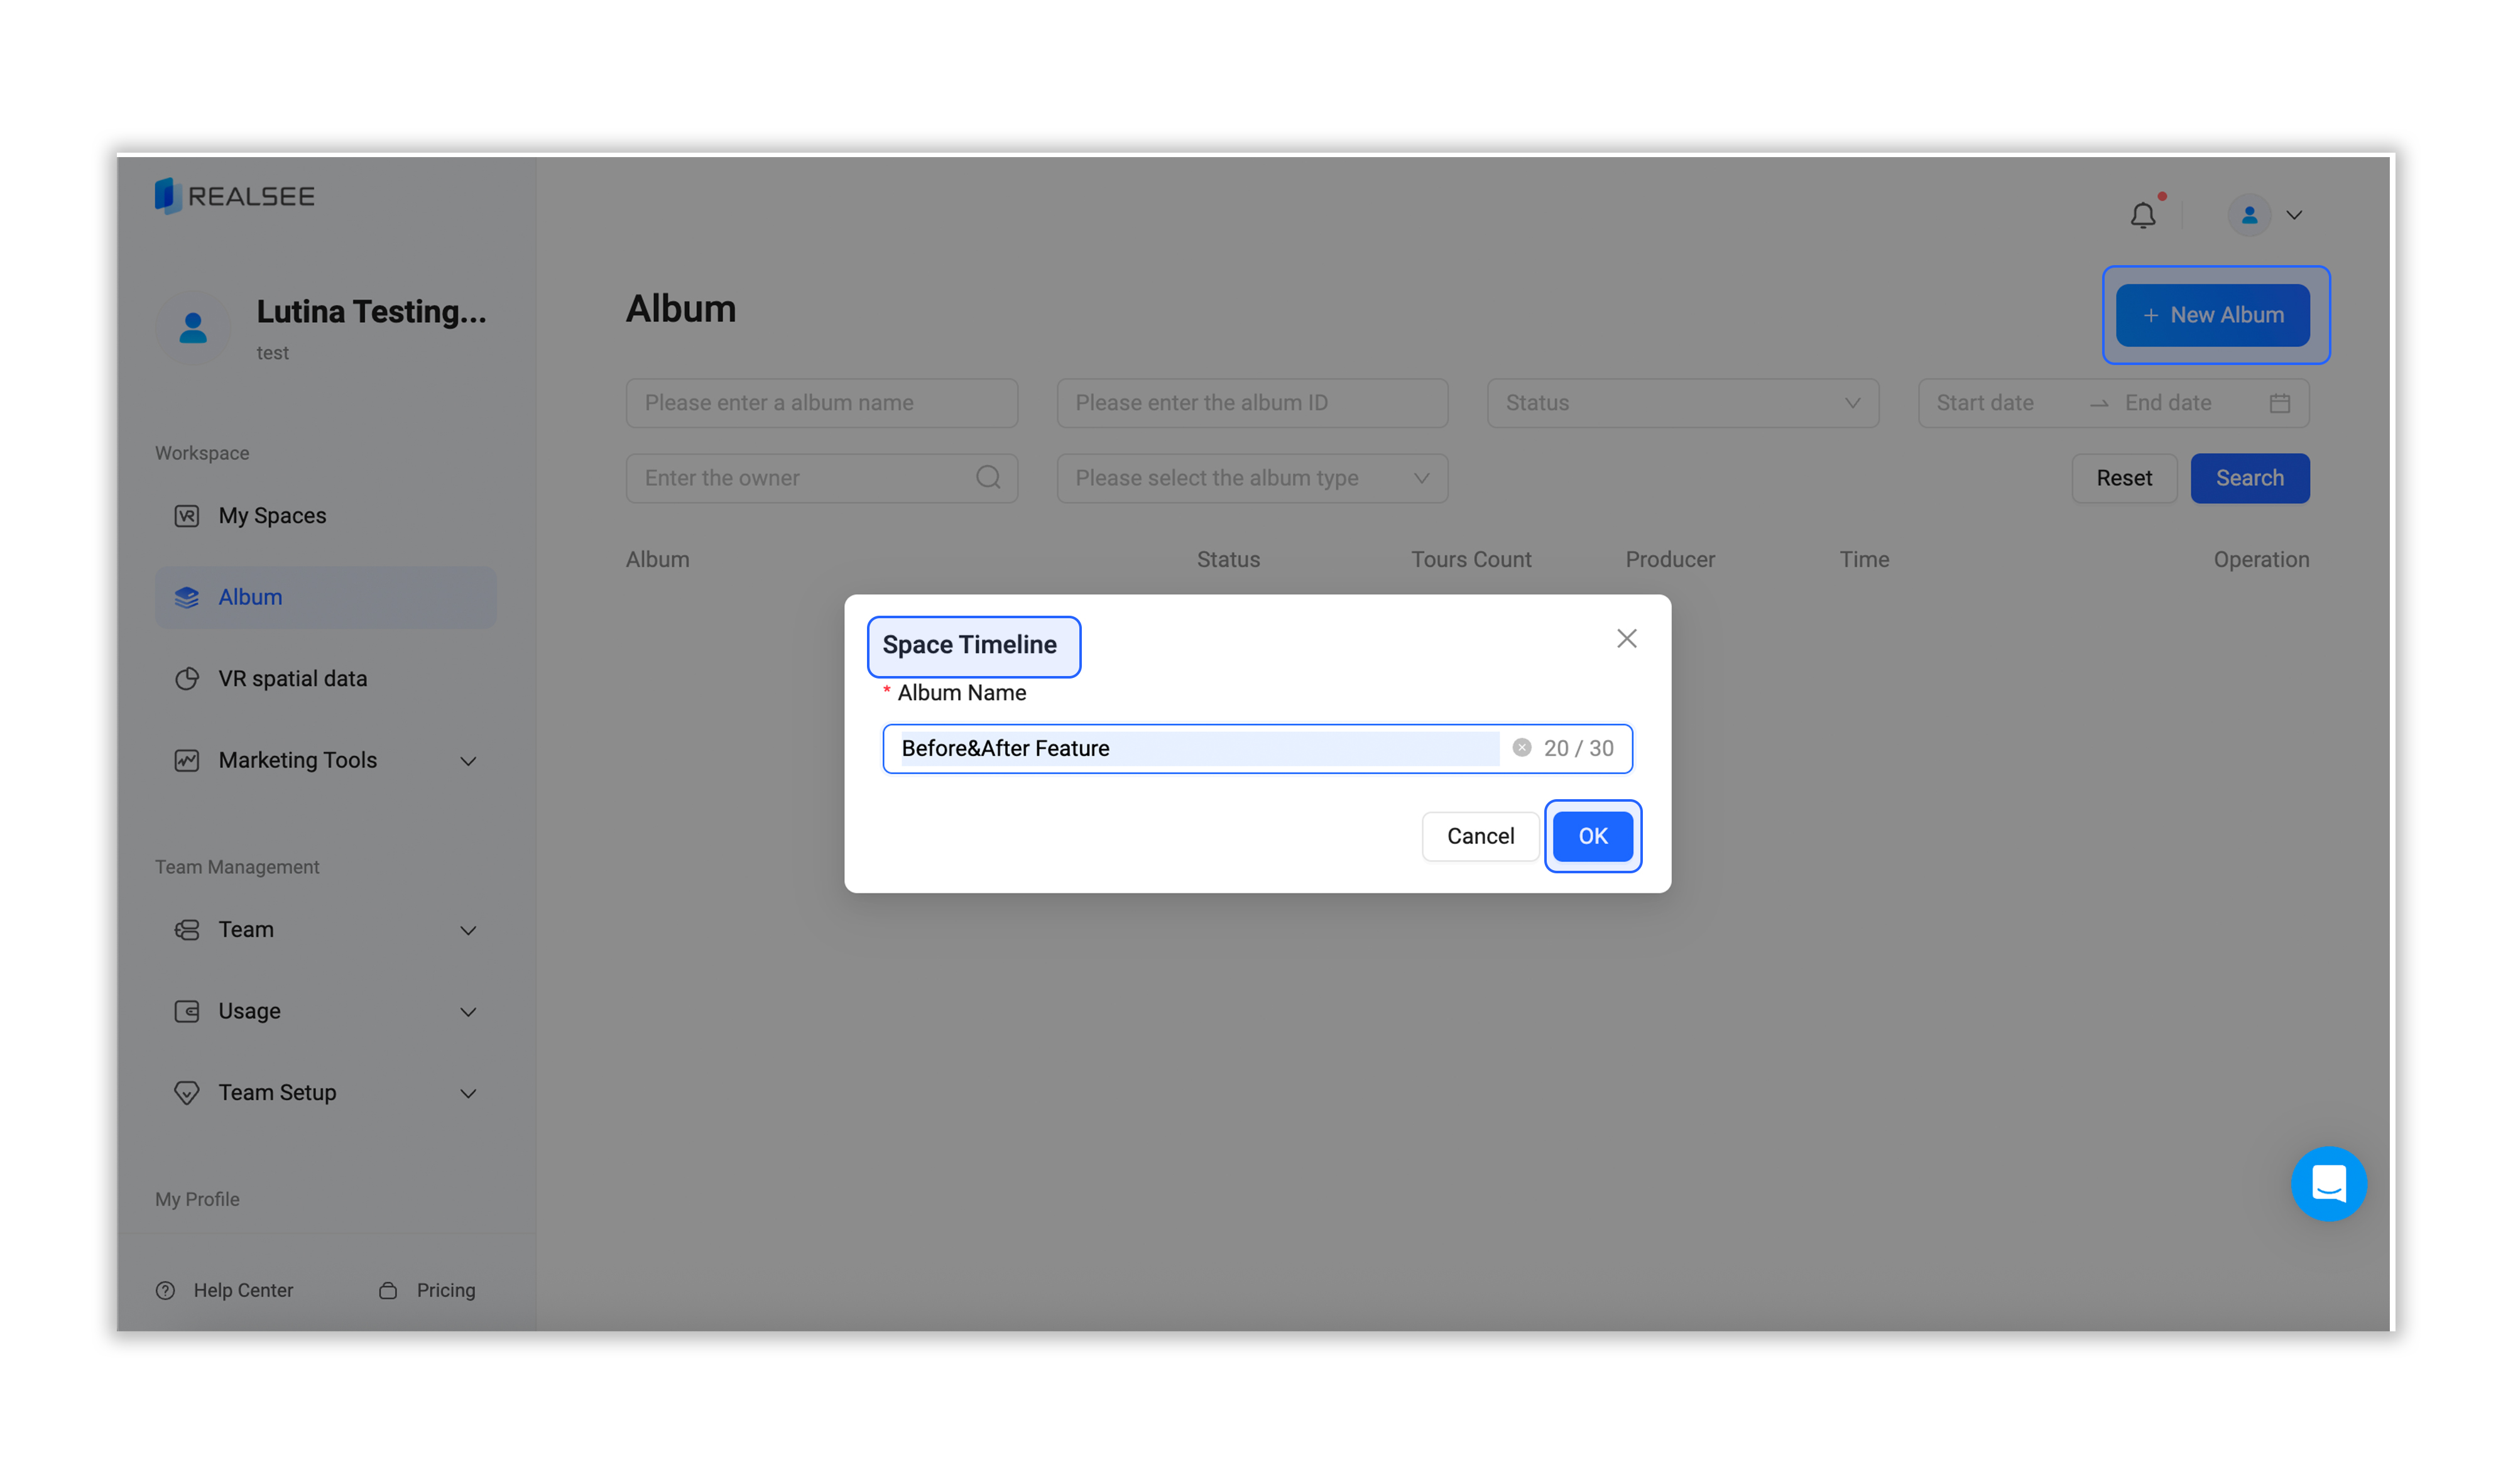
Create a Space Timeline Album
- Log in and select Album from the left sidebar.
- Click + New Album > Space Timeline.
- Enter an Album Name (e.g., Before&After Comparison Feature) and click OK.
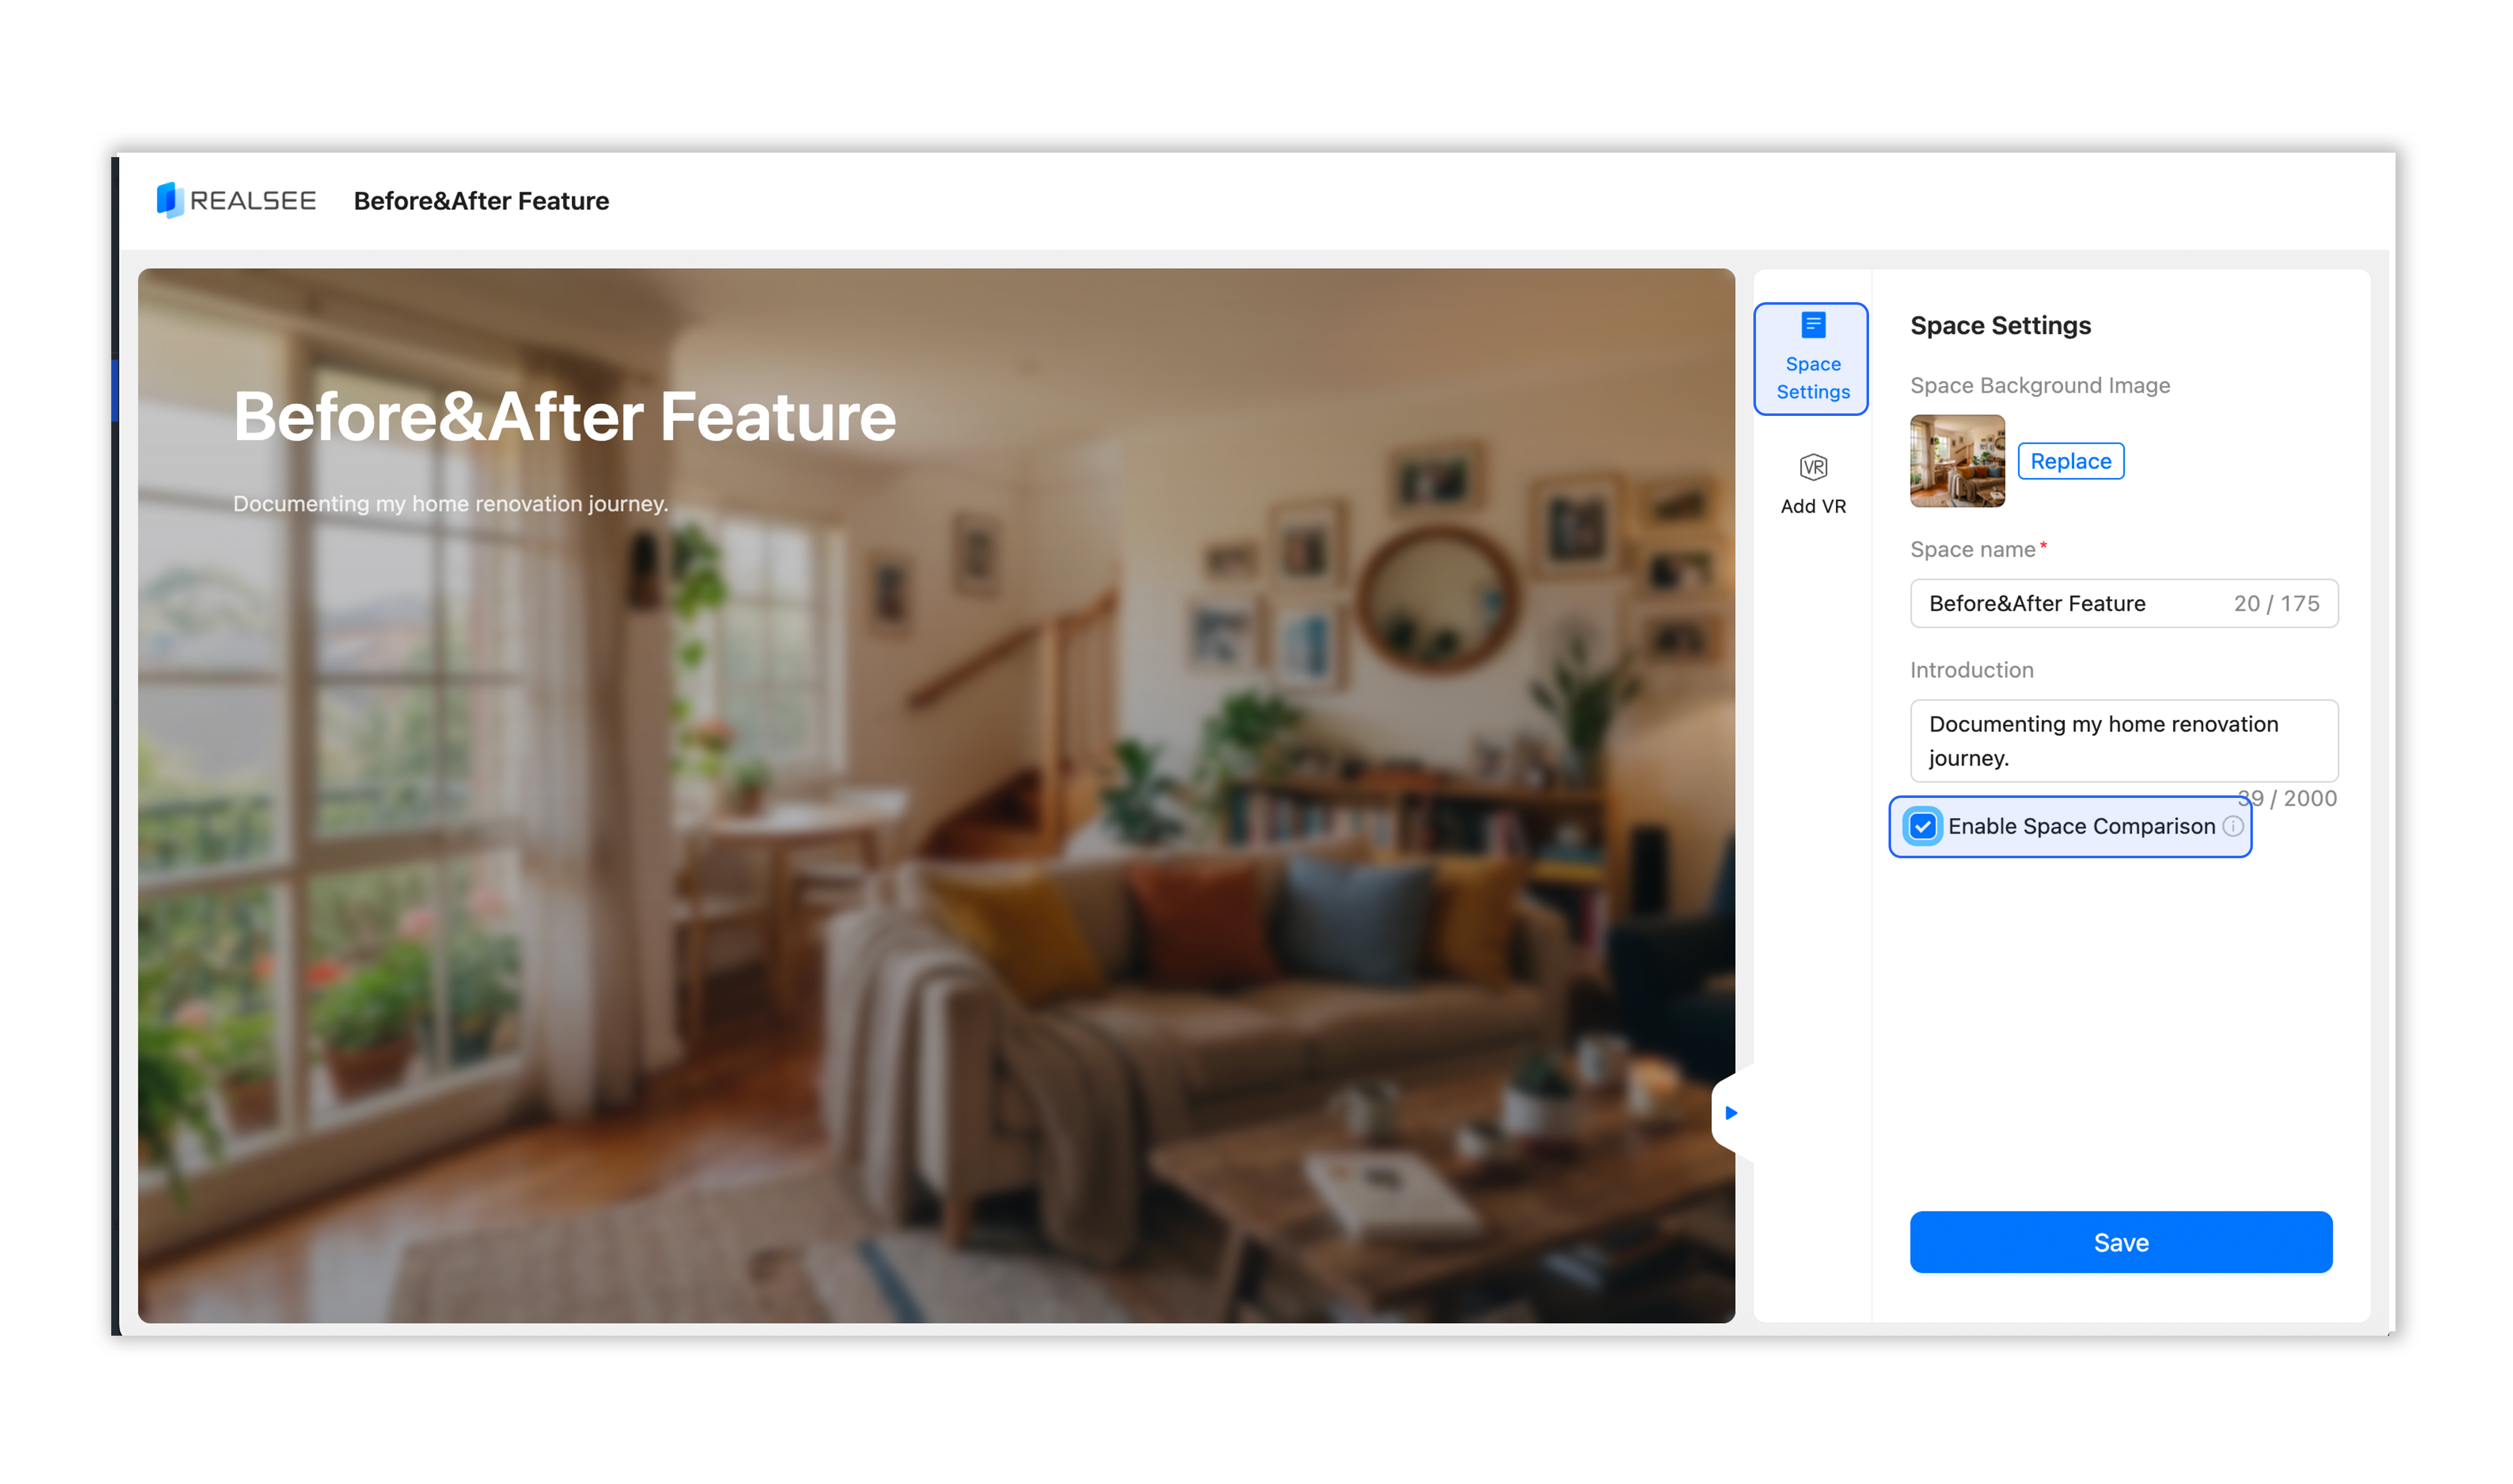
Critical Space Settings
- Cover & Space Info: Click Replace to upload a cover image and fill in the Introduction.
- Enable Comparison: [CRITICAL STEP] Check the box for Enable Space Comparison. If this is not checked, the side-by-side view will not be available in the frontend.
- Click Save at the bottom.
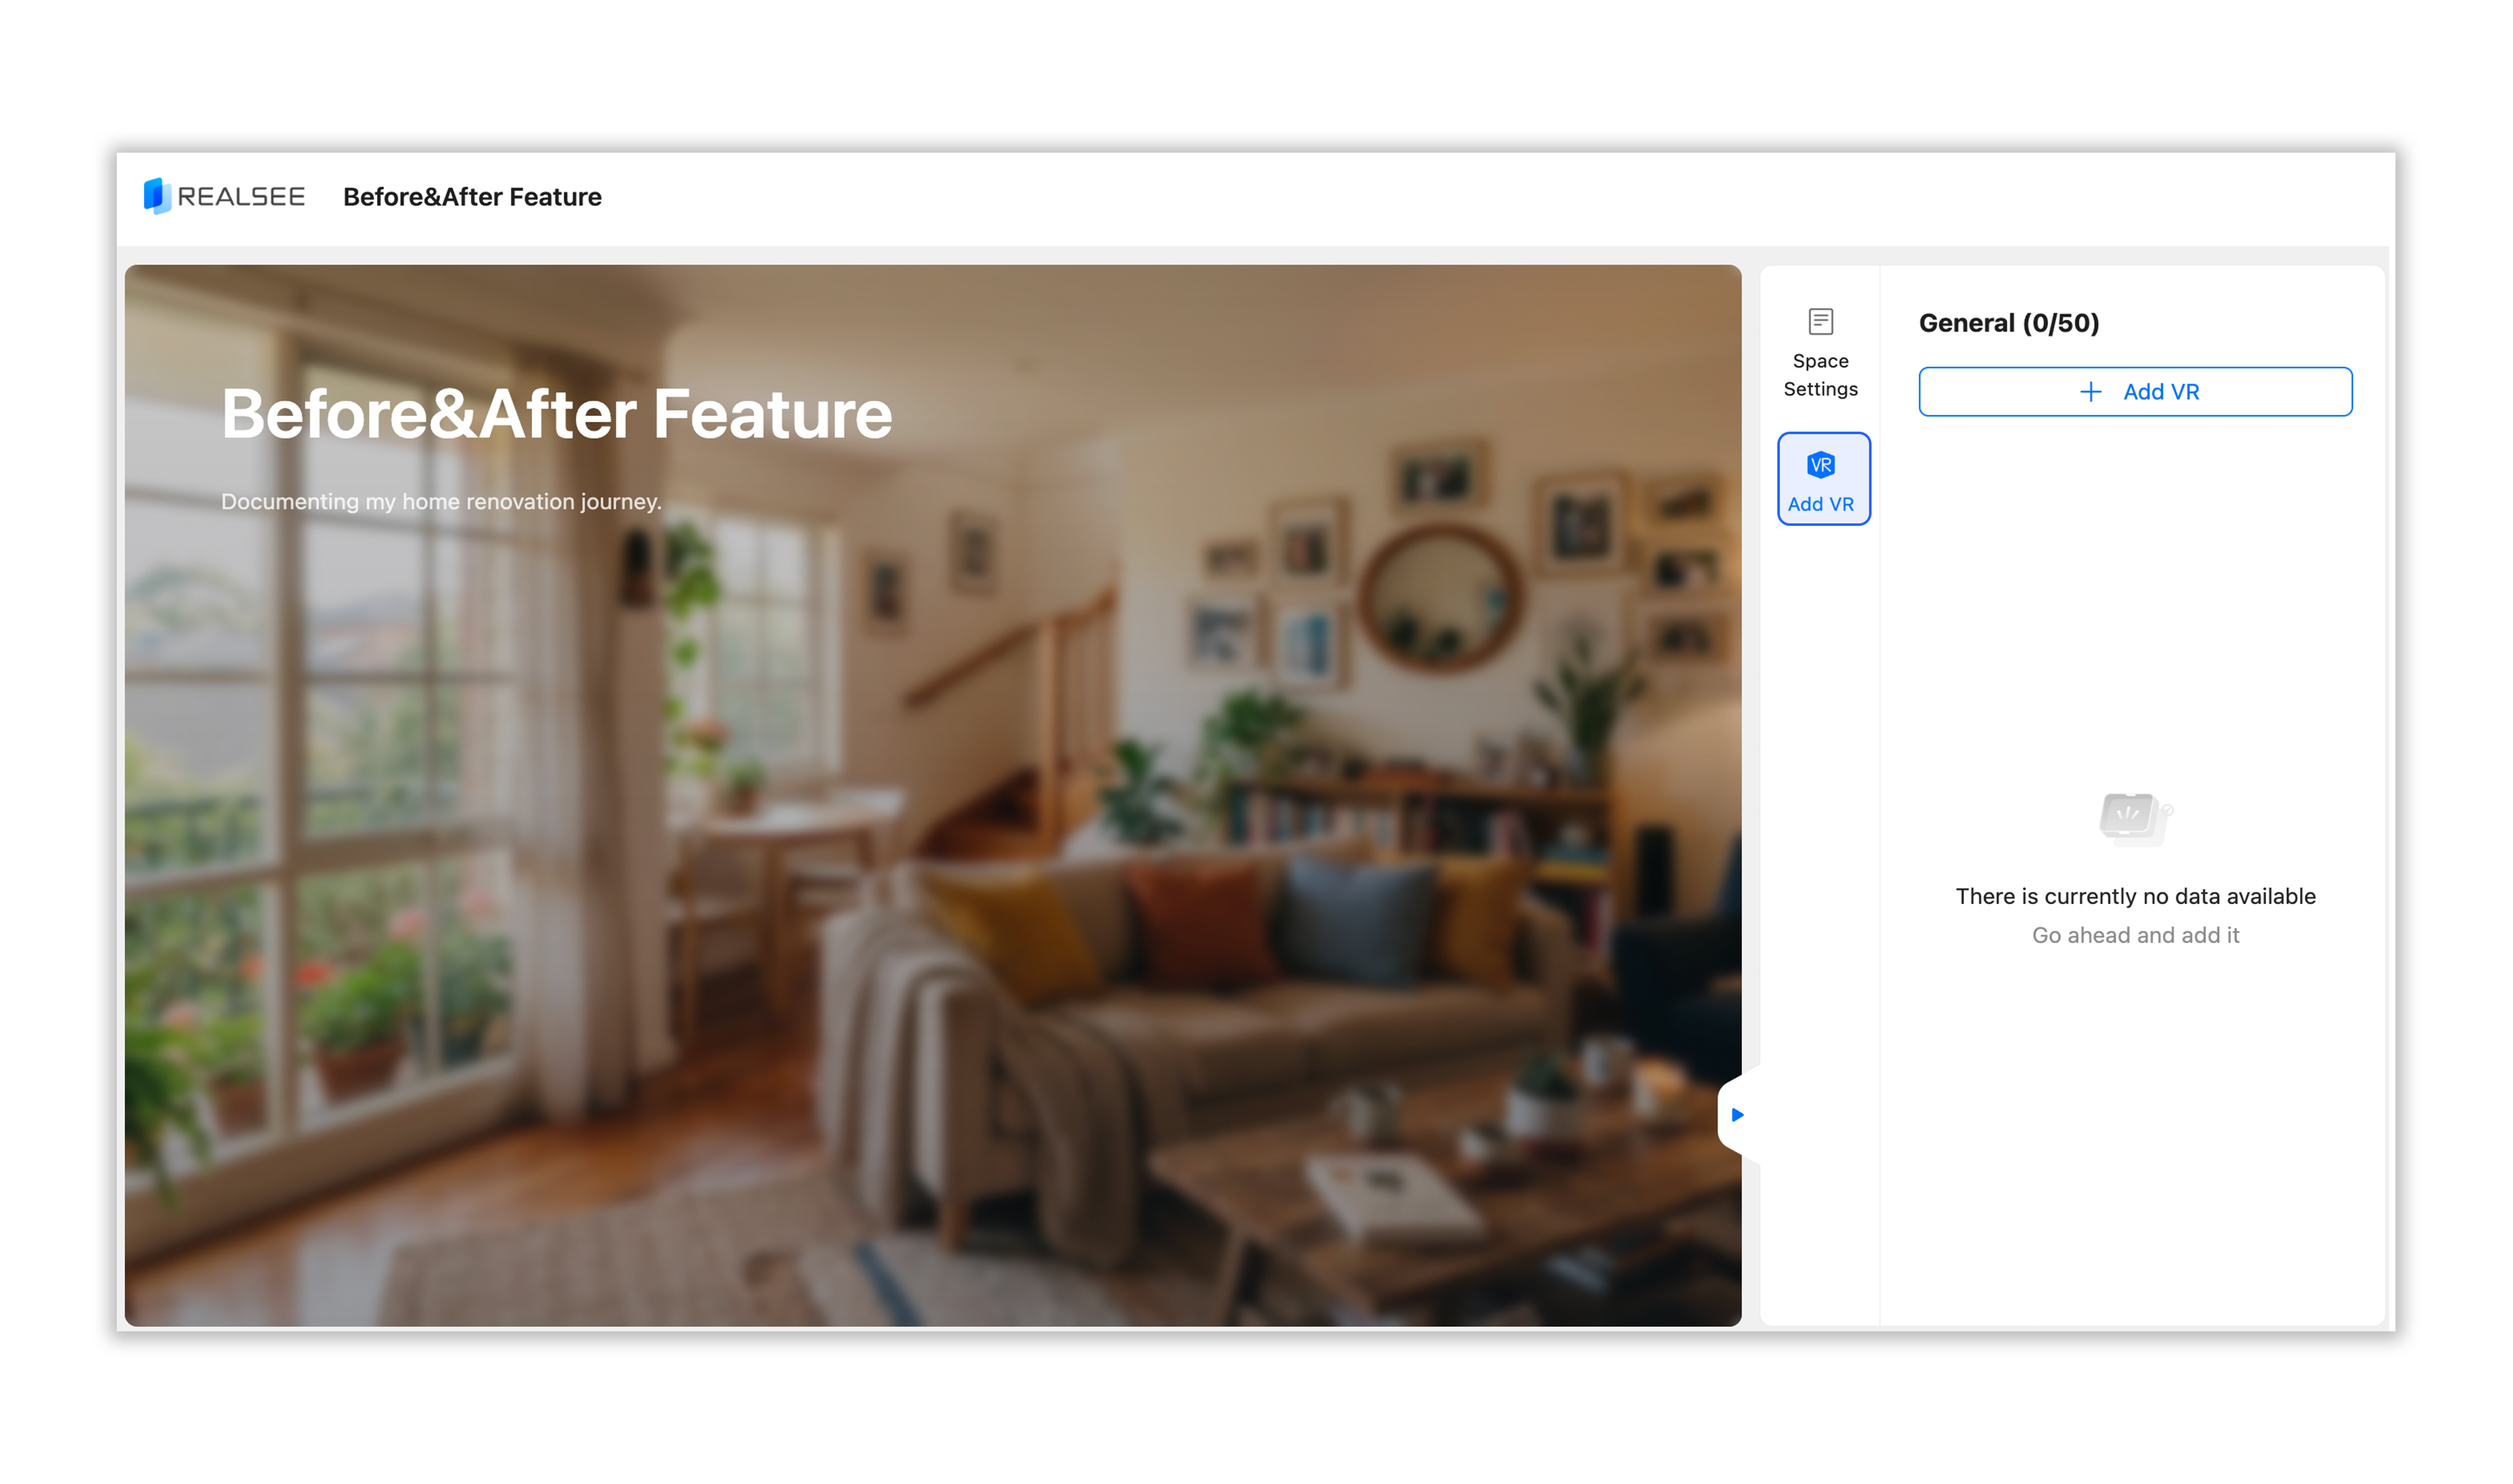
Add and Manage VR Spaces
- Click the Add VR icon on the right, then click the + Add VR button.
- Search by Name: In the search bar, type the name of the VR project you want to include (e.g., 0211 Pre-renovation as seen in the video) and select it from the results
- Naming: Give each VR a clear name (e.g., Pre-renovation, Tiling, Final) so users can easily distinguish between stages.
- Once all stages are added, click Save.

III. Dual-Activation Mechanism (Critical Checklist)
This is the most frequently missed step: In addition to activating the Album link, you must ensure that every individual VR project included in the comparison is also in "Active" status.
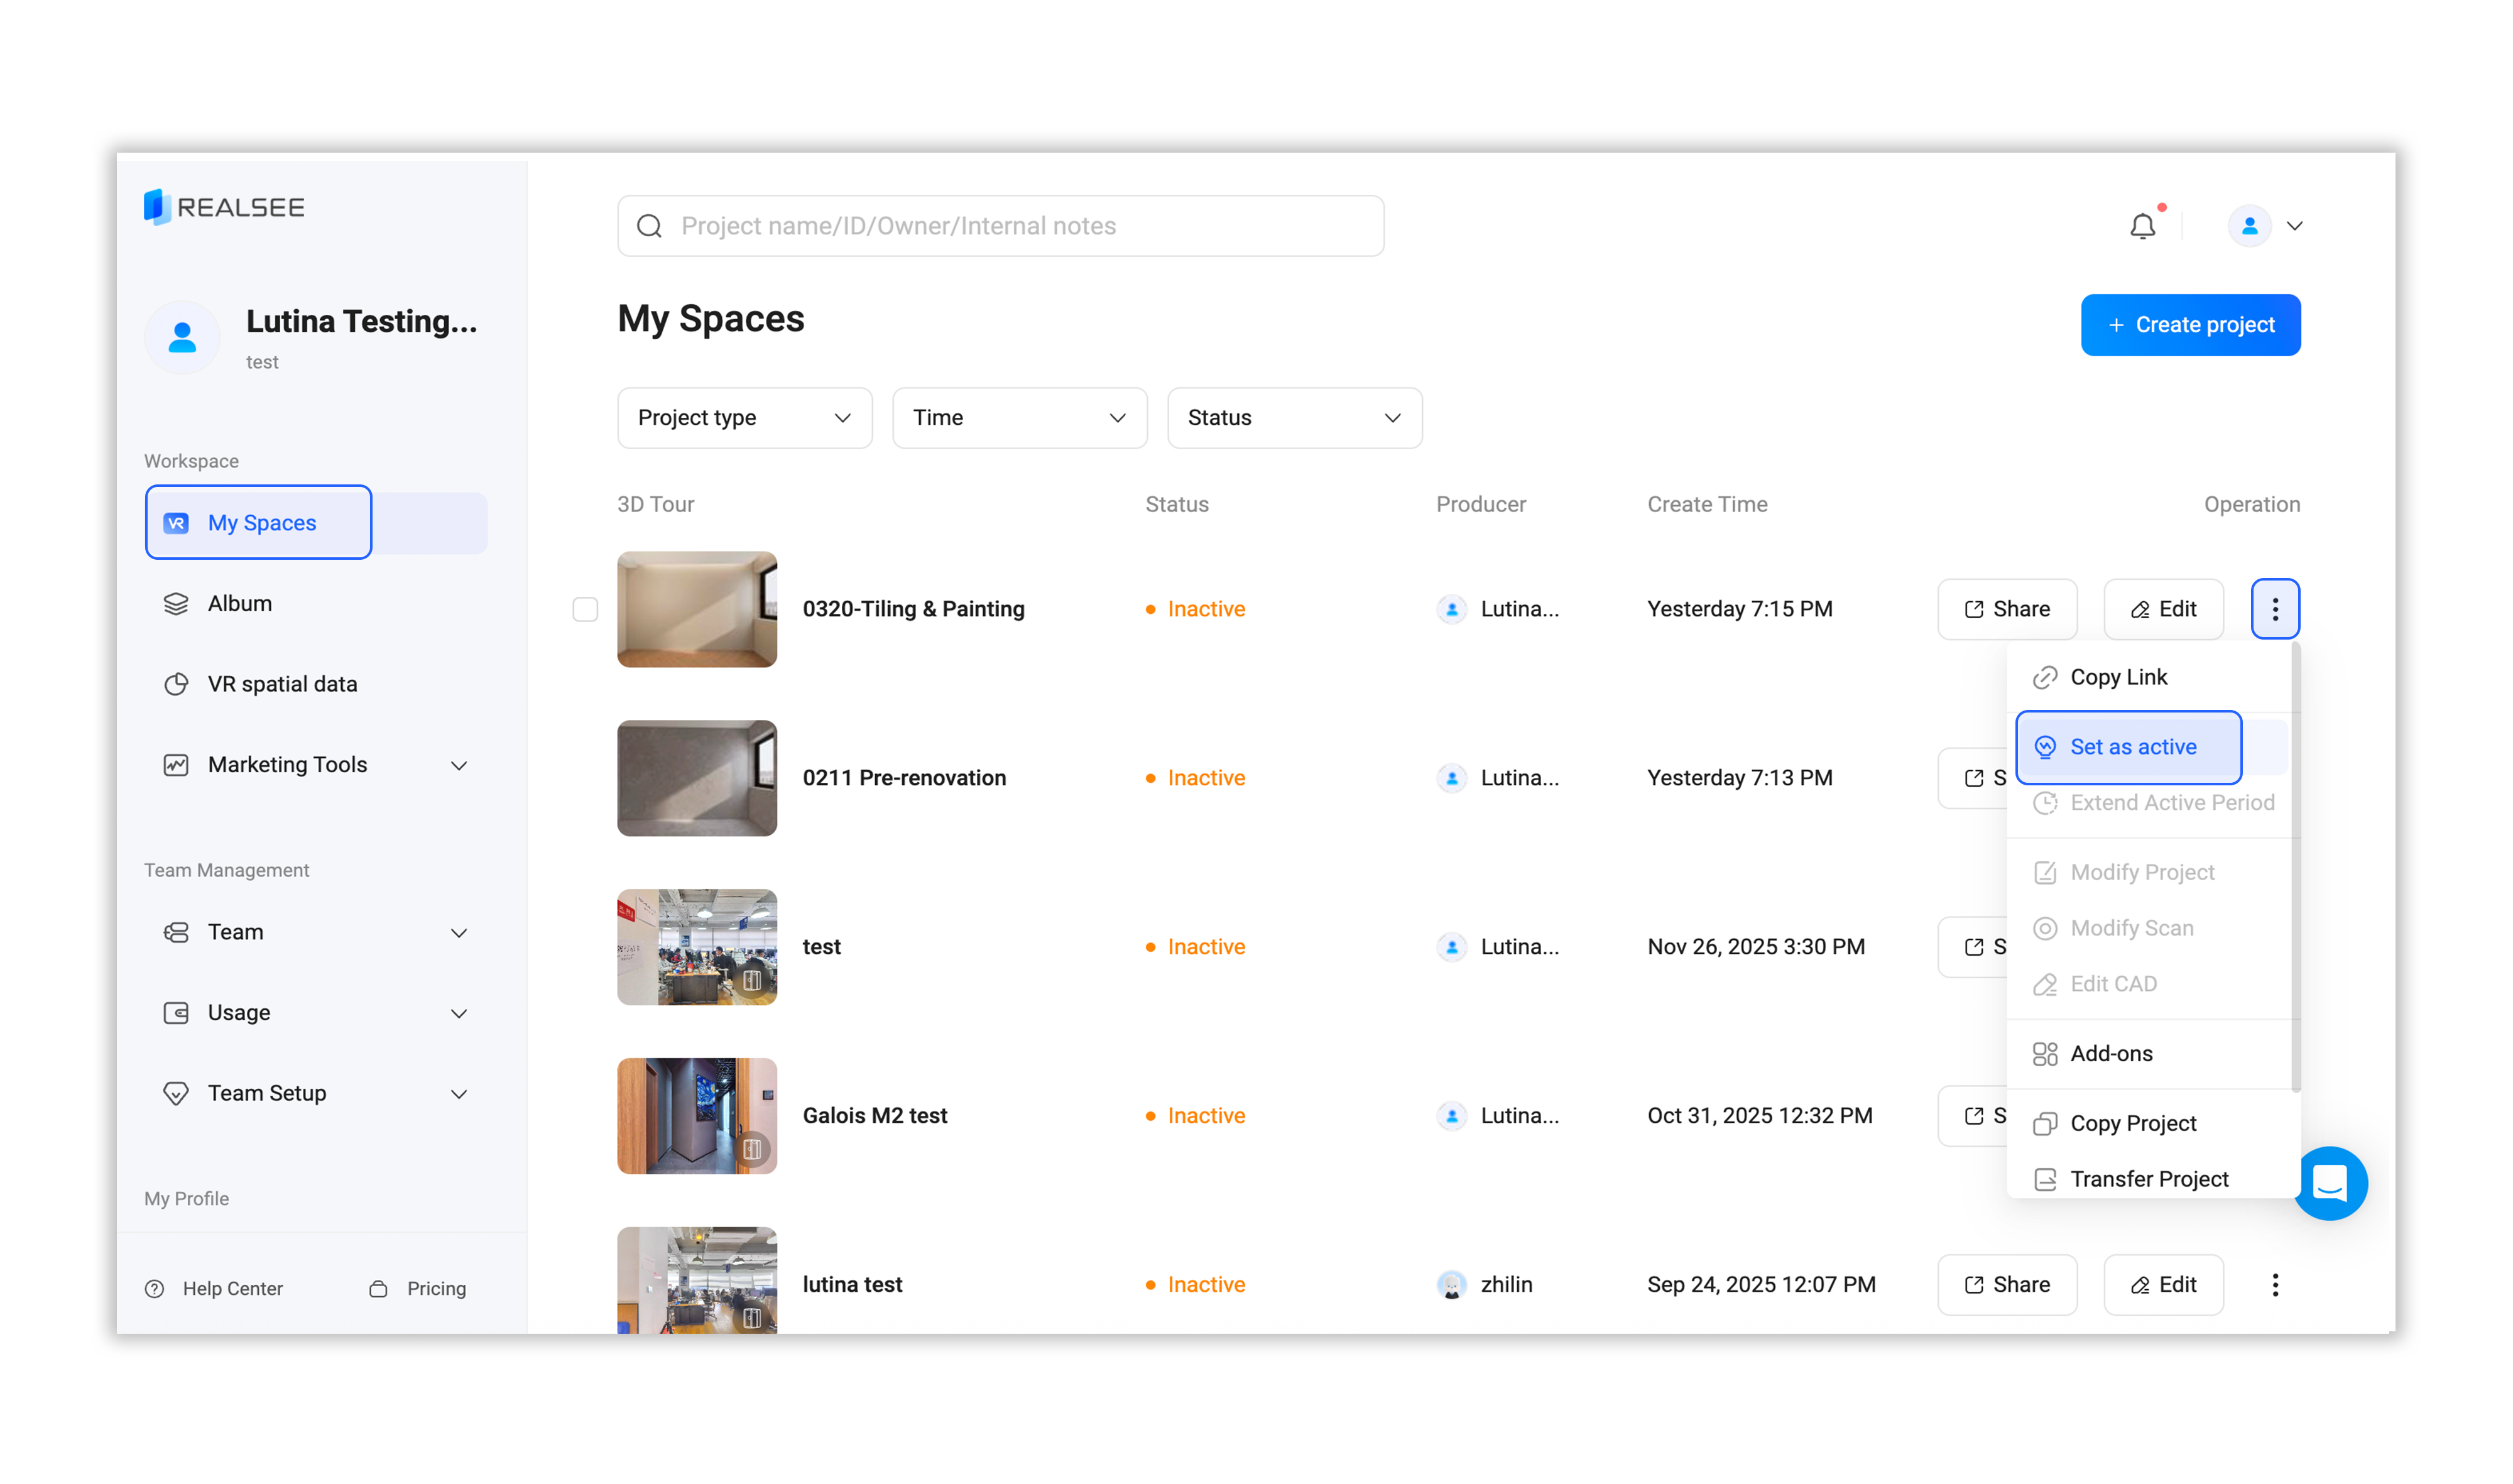
Activate Individual VR Projects
Before finalizing your Album settings, please check your project list:
- Go to the My Spaces list and locate all VR projects you intend to include in the comparison.
- Check the status. If it shows as Inactive (orange dot), click the three-dot icon
...on the far right. - Select Set as active.
- Note: If an individual VR is not activated, it will fail to load within the Album, and users will see an error or a blank screen for that specific stage.
Activate the Album Link
Once the individual VRs are ready, you must activate the container:
- Return to the Album list page.
- Locate the comparison album you just created. Click the three-dot icon
...and select Set as active. - Click Copy Link to get the final URL for sharing.

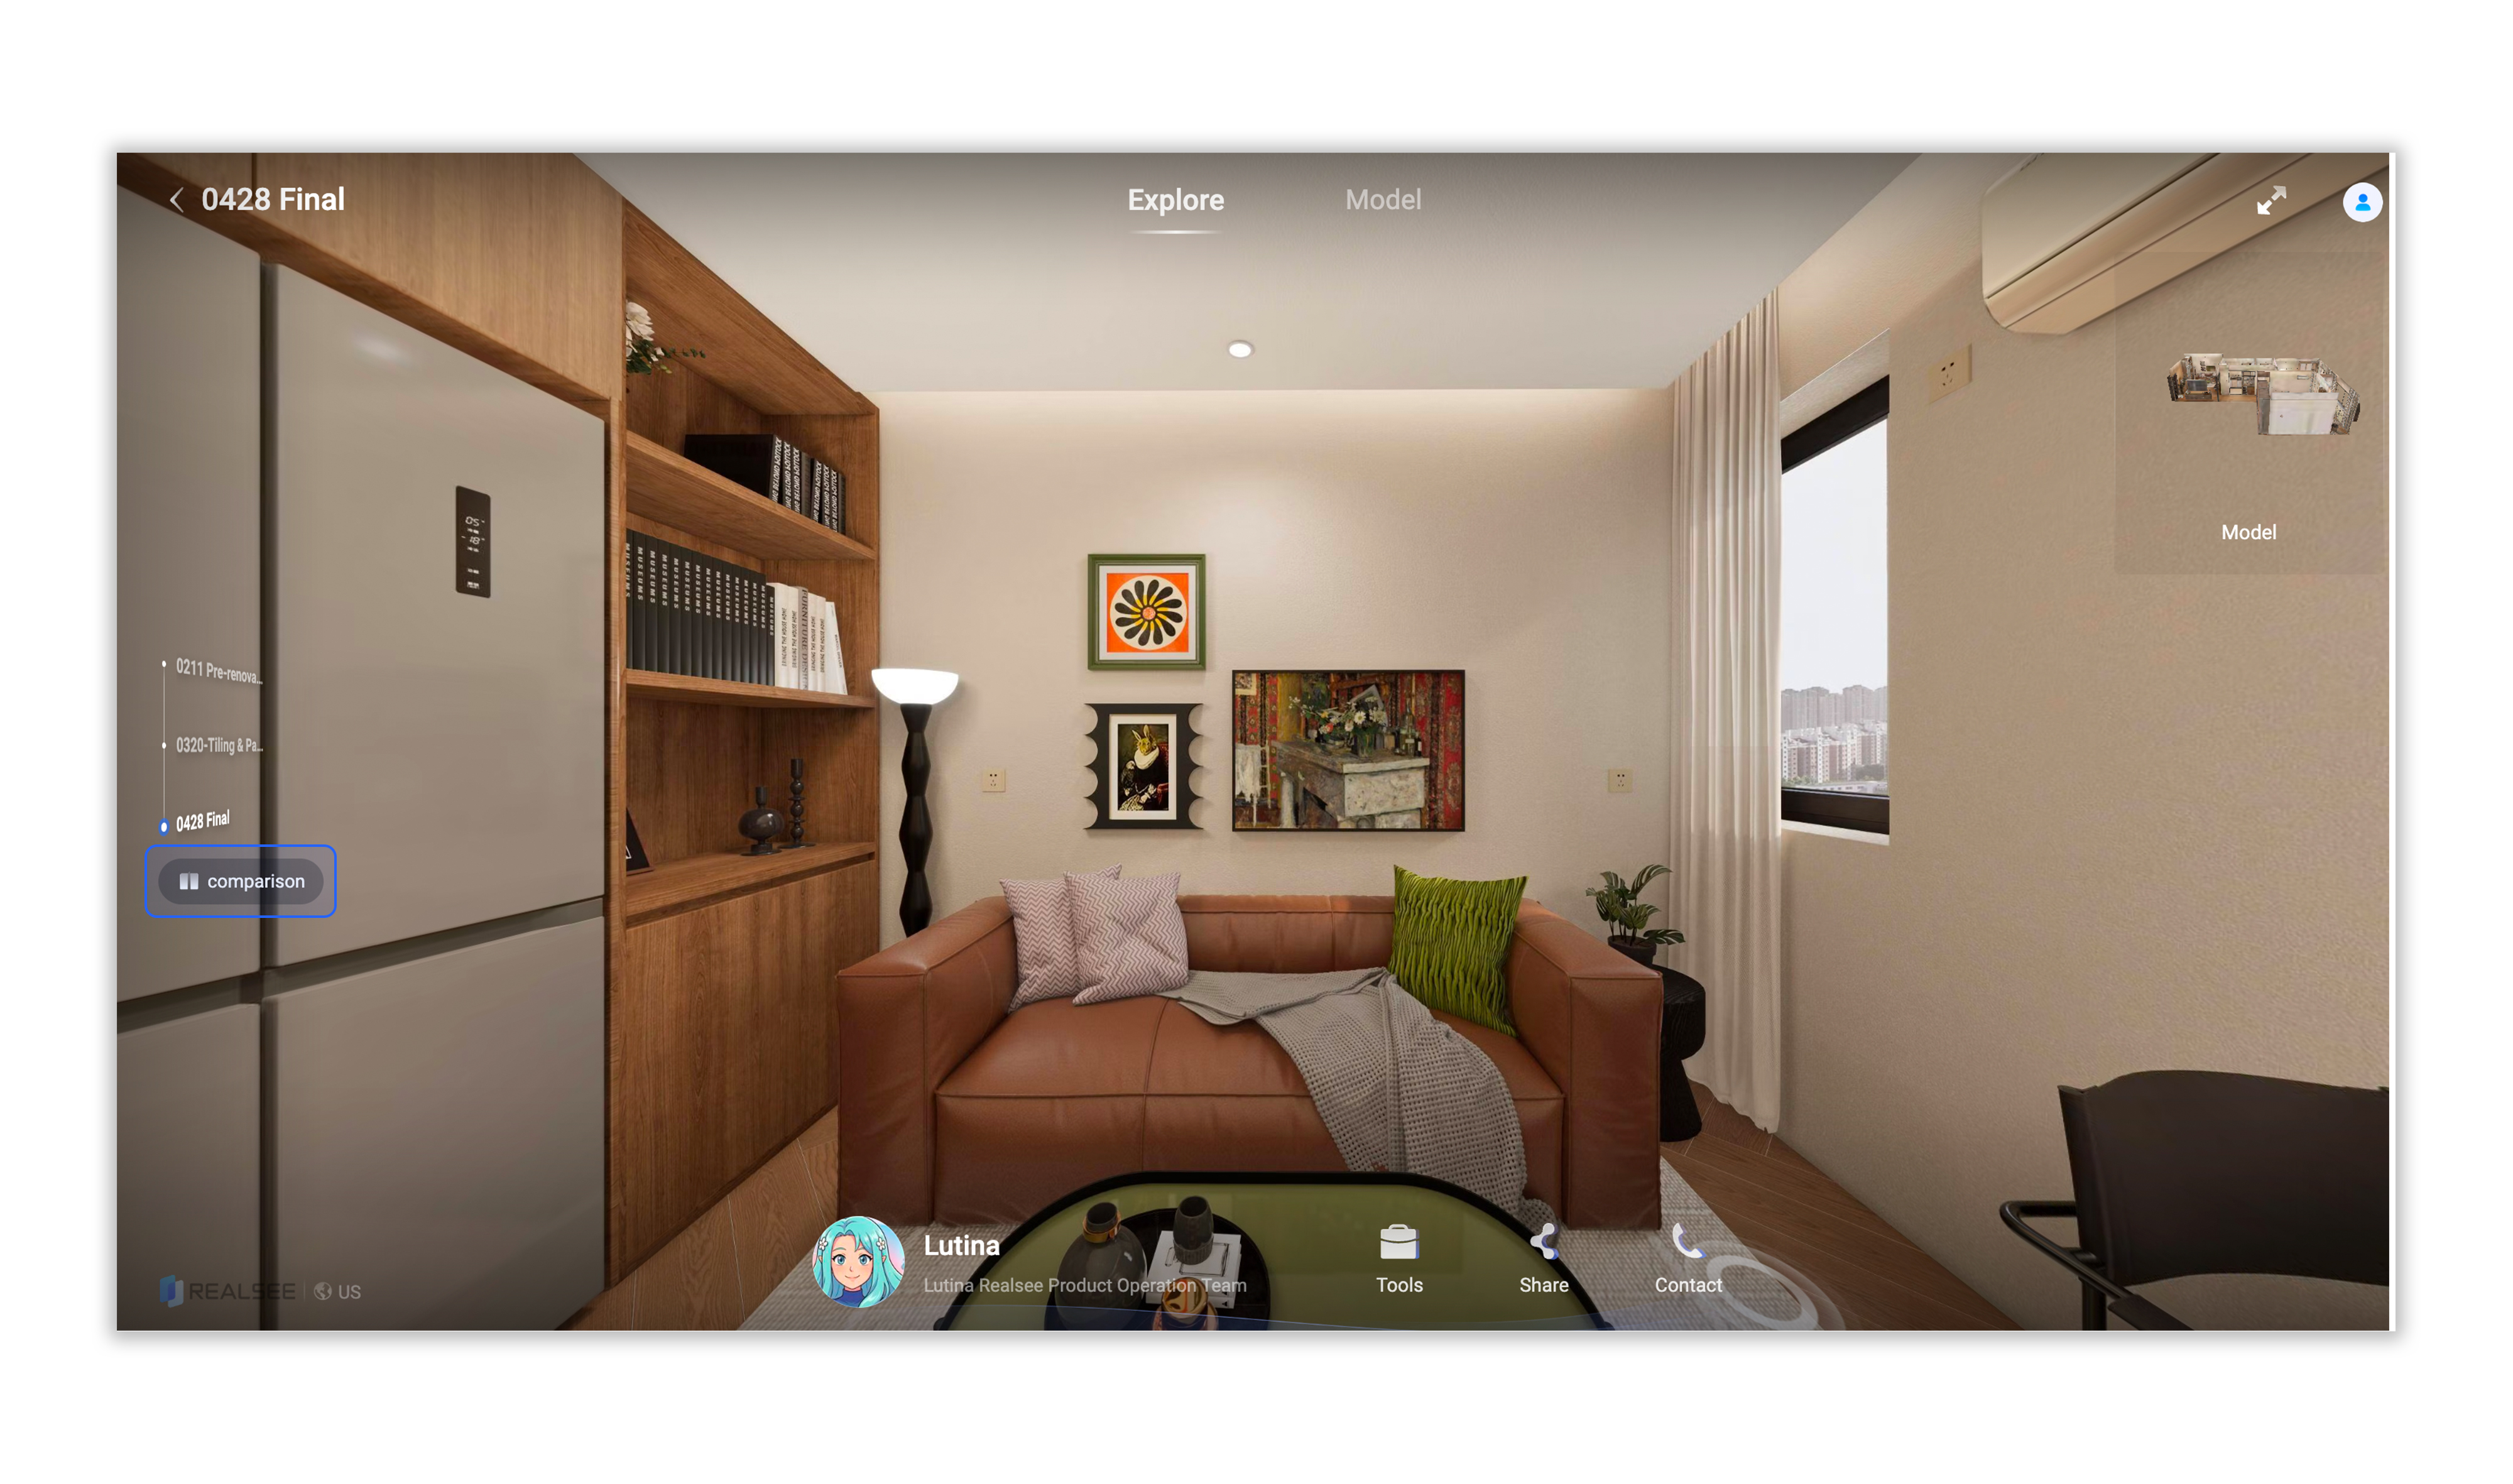
IV. Accessing the Side-by-Side View
- Enter the Experience: Open the shared link and select any VR from the list. Once inside, click the Comparison button located in the bottom-left corner.
- Toggle Spaces: The interface will transition into a split-screen view. Use the sidebar menu to select and switch between different VR versions for both the left and right panes.

V. Feature Availability & Constraints (MVP Version)
To maintain a seamless sync between two environments, certain advanced tools are simplified in Comparison Mode:
- Synchronized Roaming: All panning, zooming, and hotspot movements are mirrored across both panes.
- Measurement Tool: Available on PC/Desktop only (currently unavailable on mobile).
- Floor & View Toggles: Users can still switch between floors (if applicable) and toggle between Model, Floorplan, and VR views.
- Tags: All hotspots and informational tags remain visible and interactive.


We value your experience! If you have any suggestions for improving the "Side-by-Side Comparison" feature, encounter any issues, or simply want to share your thoughts, please feel free to reach out.
We look forward to hearing from you!
- Contact: Lutina
- Email: support@realsee.ai