Set up VR Display Style
Overview
This tutorial will guide you through the process of setting up Skin, Thumbnail, Floor Name, Toolbox Setting, Your Logo, Nadir Logo, Interface Language in the Explore Interface of your VR tour. Users can determine the configuration of interface styles during the VR experience. The detailed steps are as follows:
1. Skin: Overall interface style configuration
- Users can switch between different skin styles in the Skin list to set the overall interface style in the Explore Interface of the VR tour.

PC interface display

Mobile interface display

2. Thumbnail (For multi-floor projects)
- The thumbnail window displays the model/floorplan in the upper-right corner of the Explore Interface of the VR tour. Users can decide whether to show the thumbnail and the display mode (Hide, Aerial View, Top View, Free View, Floorplan).

PC interface display
- Hide

- Aerial view

- Top view

- Free view

- Floorplan

Mobile interface display

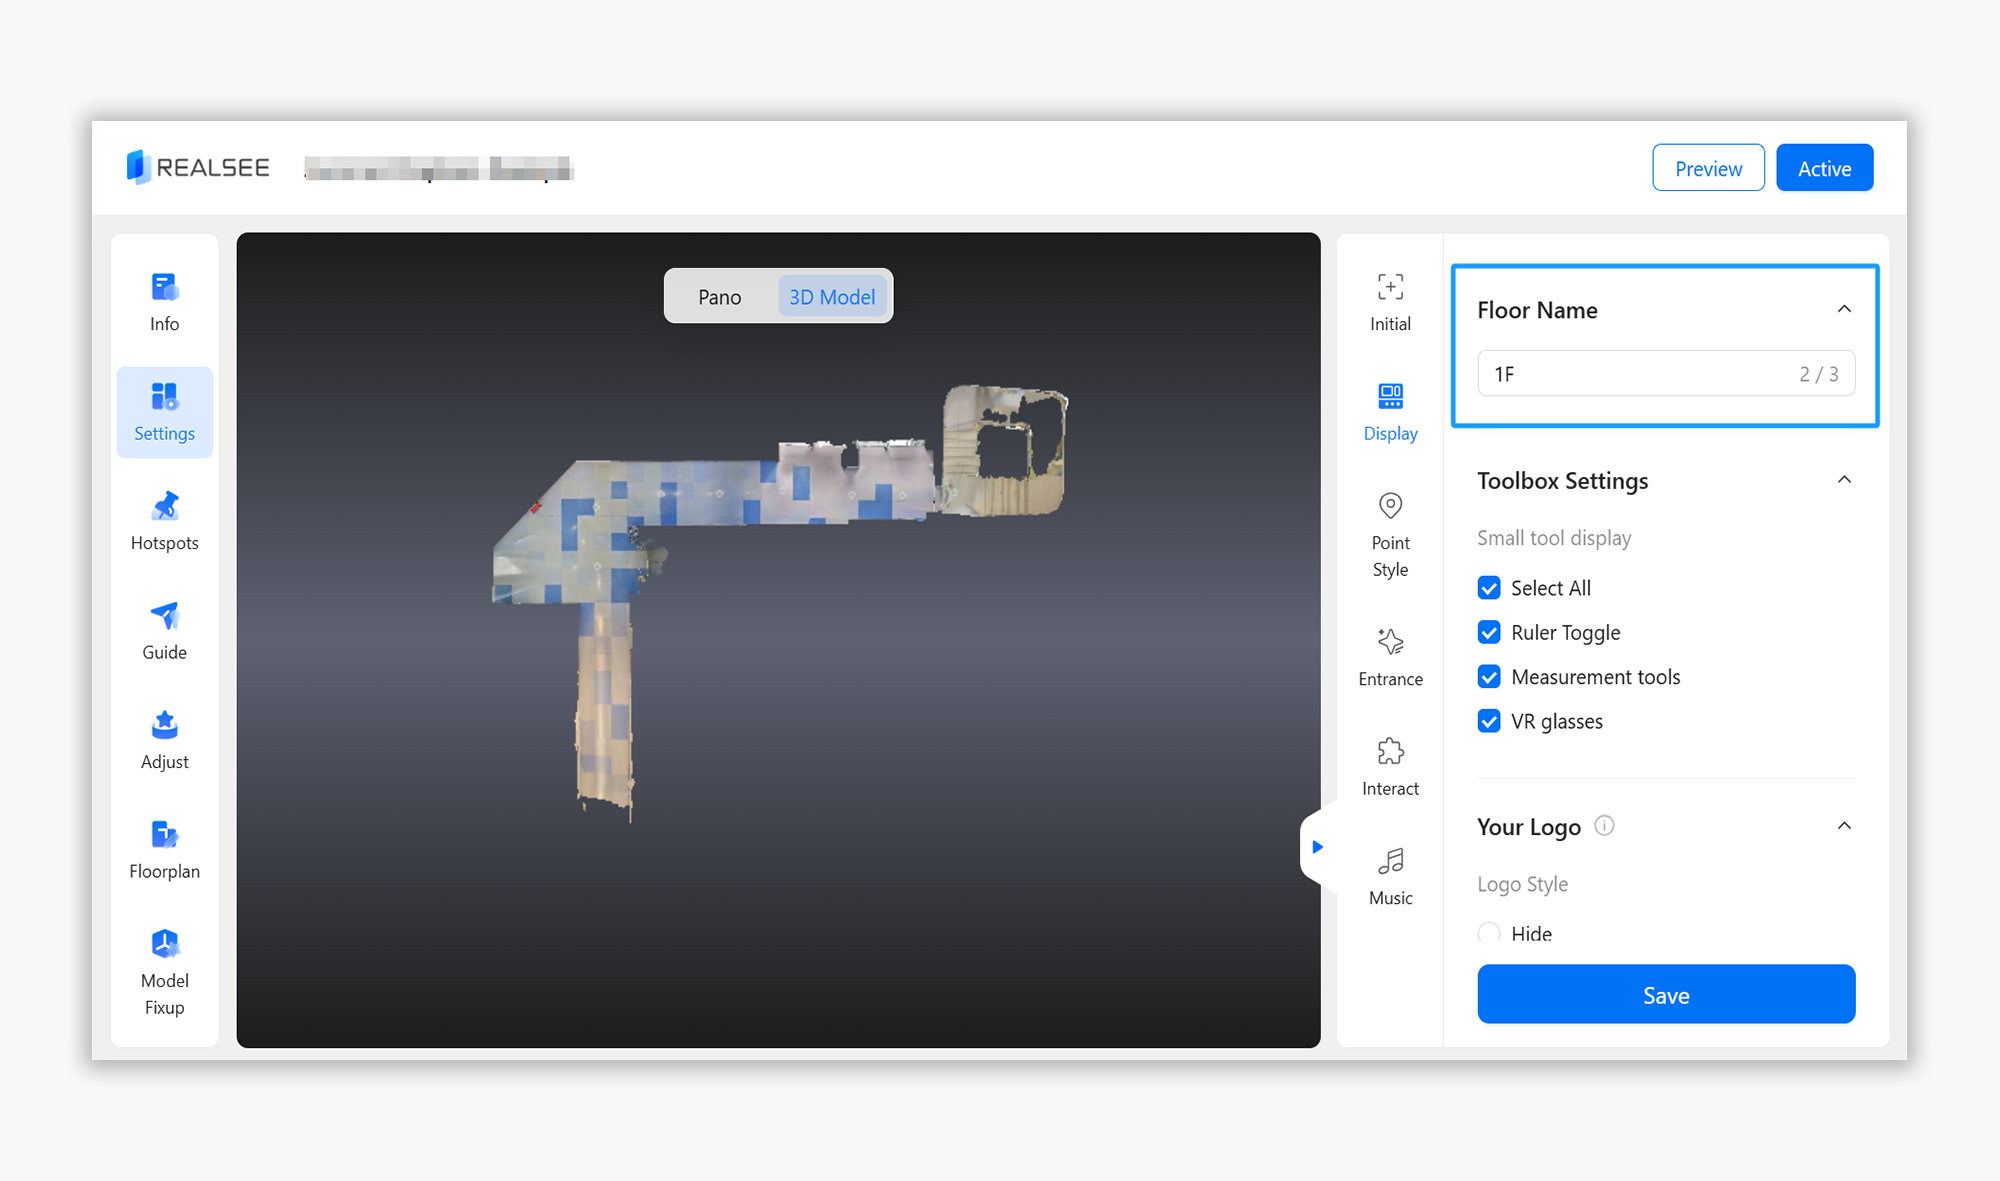
3. Floor Name
Users can customize the naming of each floor. In multi - floor projects, the Floor Name will be displayed in the Floorplan and Model.
Note: The name for each floor is limited to 3 characters.

4. Toolbox Settings
Users can configure tool display in the toolbox located at the bottom of the Explore Interface of the VR tour.
There are three tools available in the toolbox: Ruler toggle, Measurement tools, VR glasses, user can decide whether to show all the three tools in the Explore Interface of the VR tour.

5.Your Logo
Users can configure the brand logo that appears in the lower-left corner of the tour interface (click to display company information). There are three logo display styles:
- Hide
- Default Style (Displays Realsee's logo)
- Custom: Click the '+' button to upload image (PNG/JPG format only)

PC interface display

Mobile interface display

6. Nadir Logo Settings
Users can configure the ground-level logo display in the Explore Interface of the VR tour. There are three logo display styles:
- Hide
- Default Style (Displays Realsee's logo)
- Custom: Click the '+' button to upload image (PNG/JPG format only)

PC interface display

Mobile interface display


