Set Up Contact Information
Overview
This tutorial will guide users through the process of setting up contact information in the Realsee Console Editor. Follow the steps below to configure various elements of the contact information.
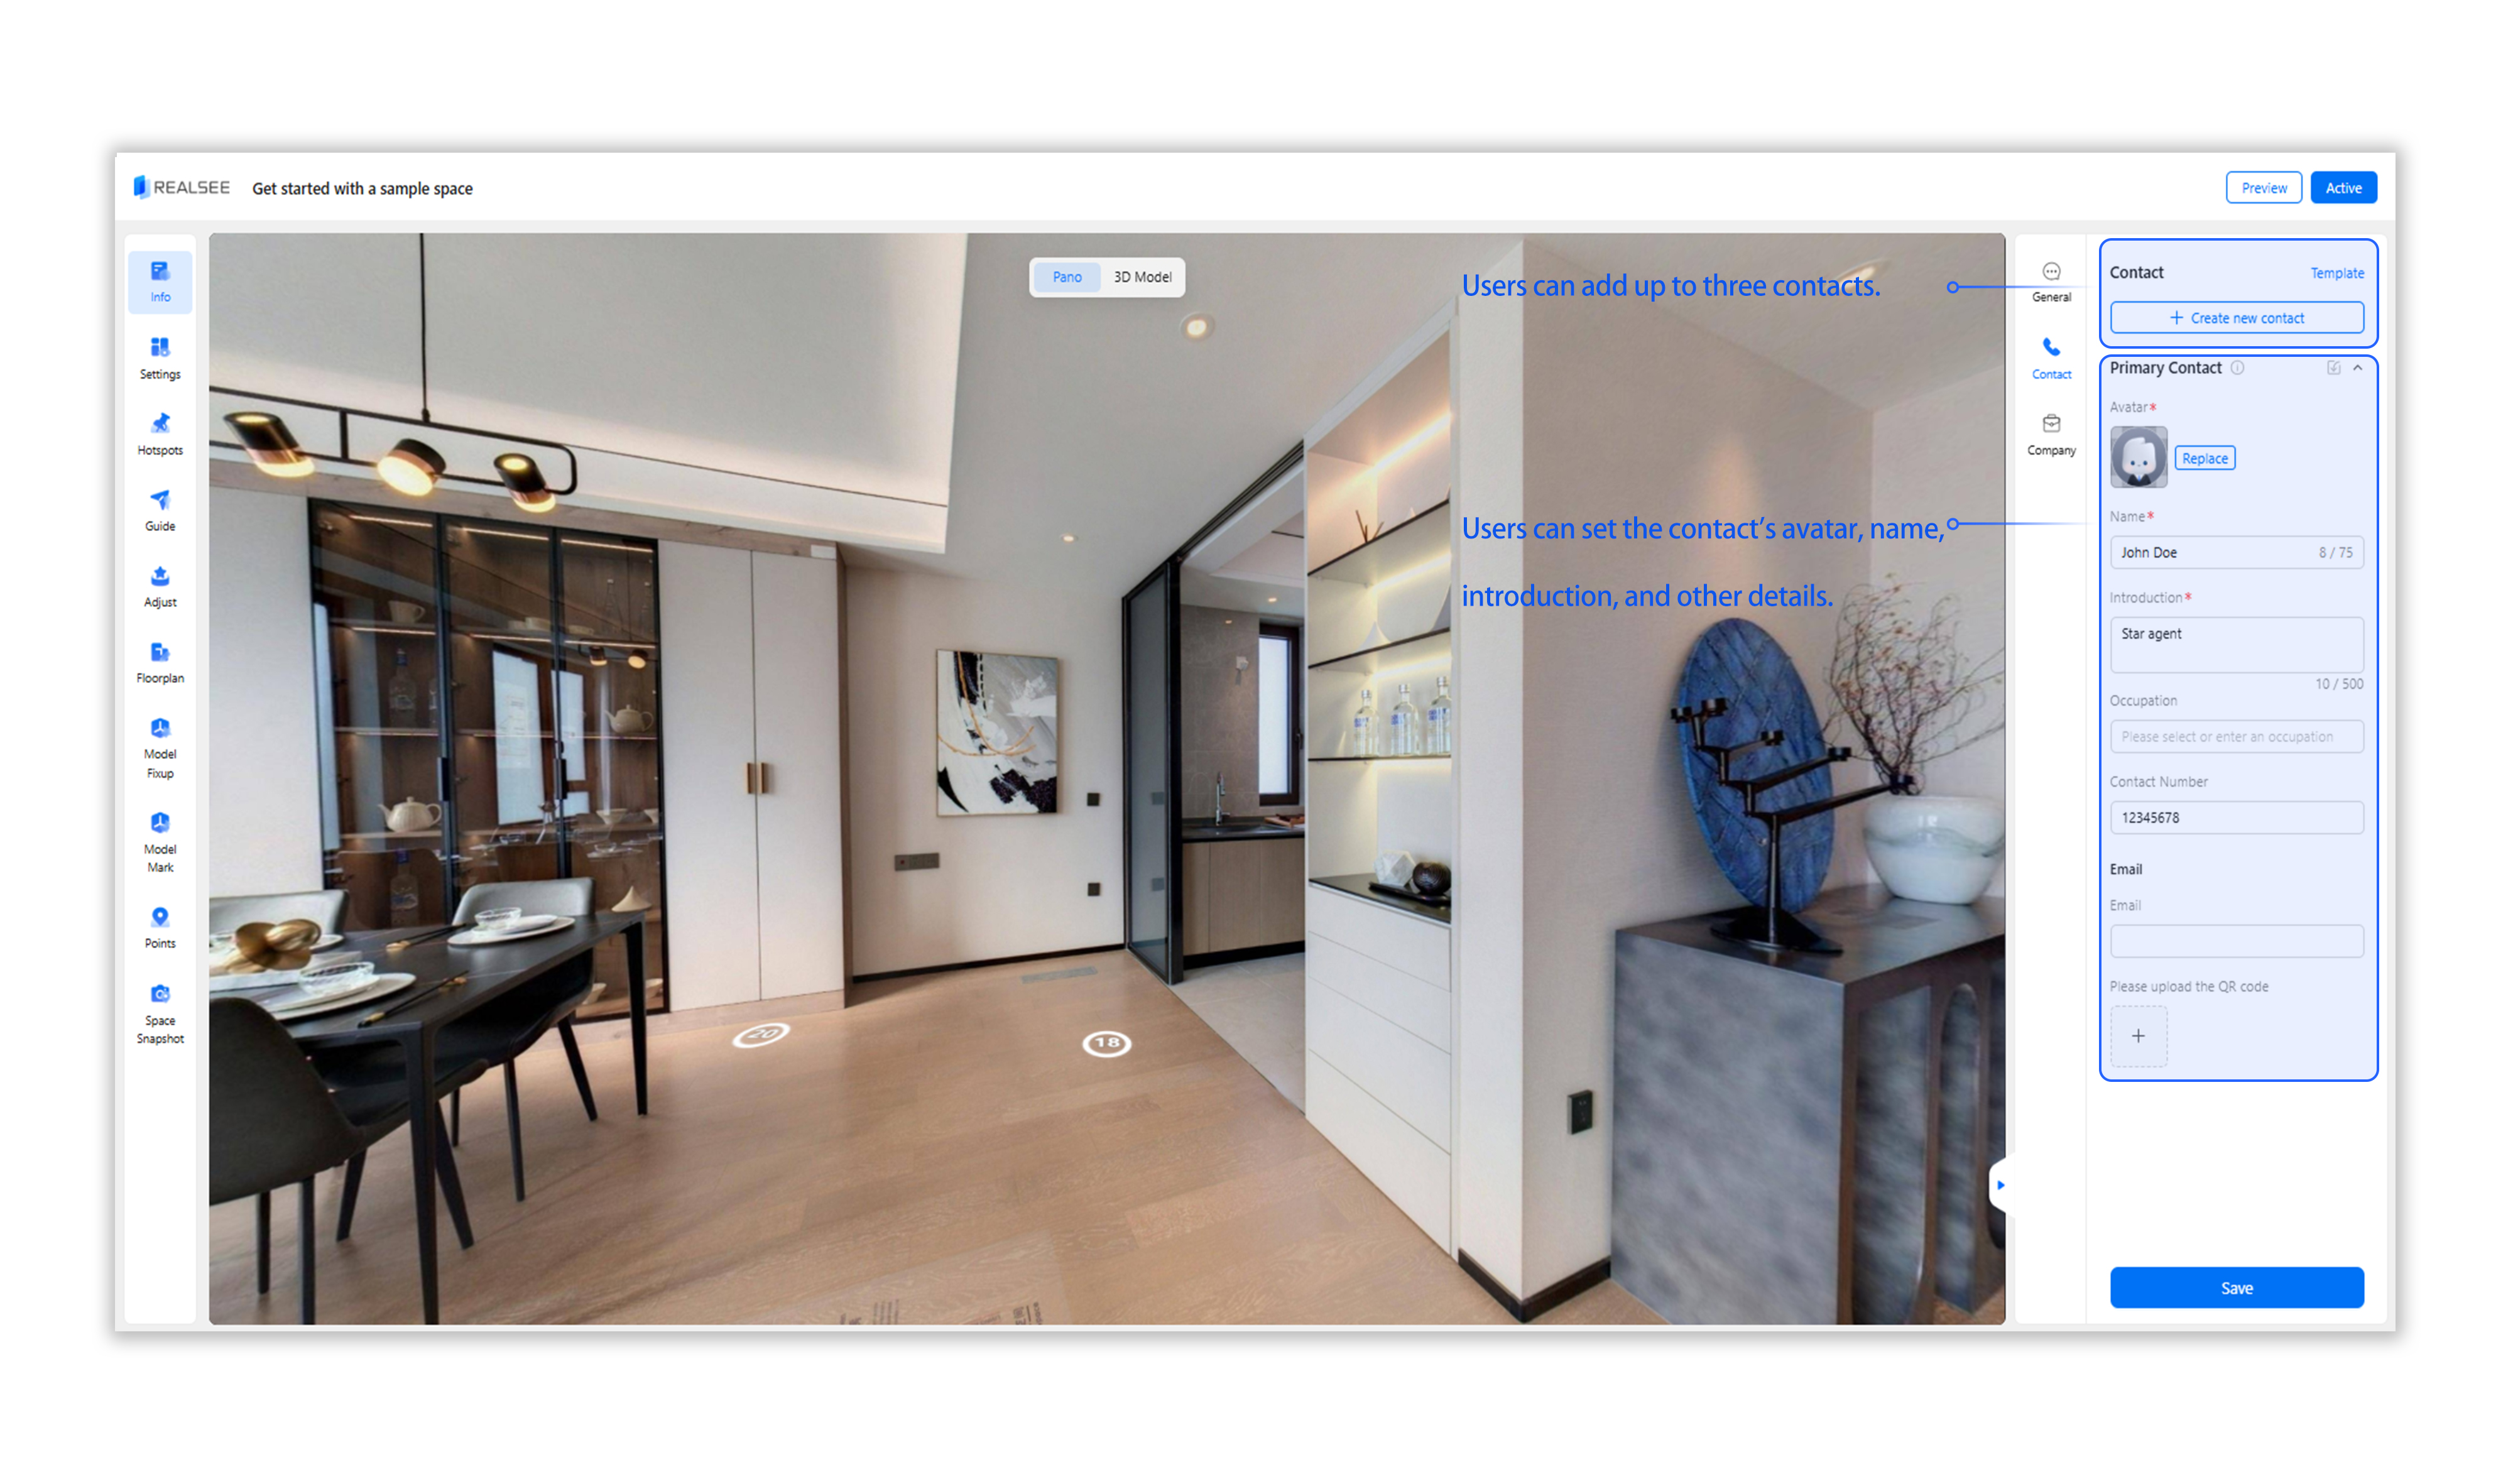
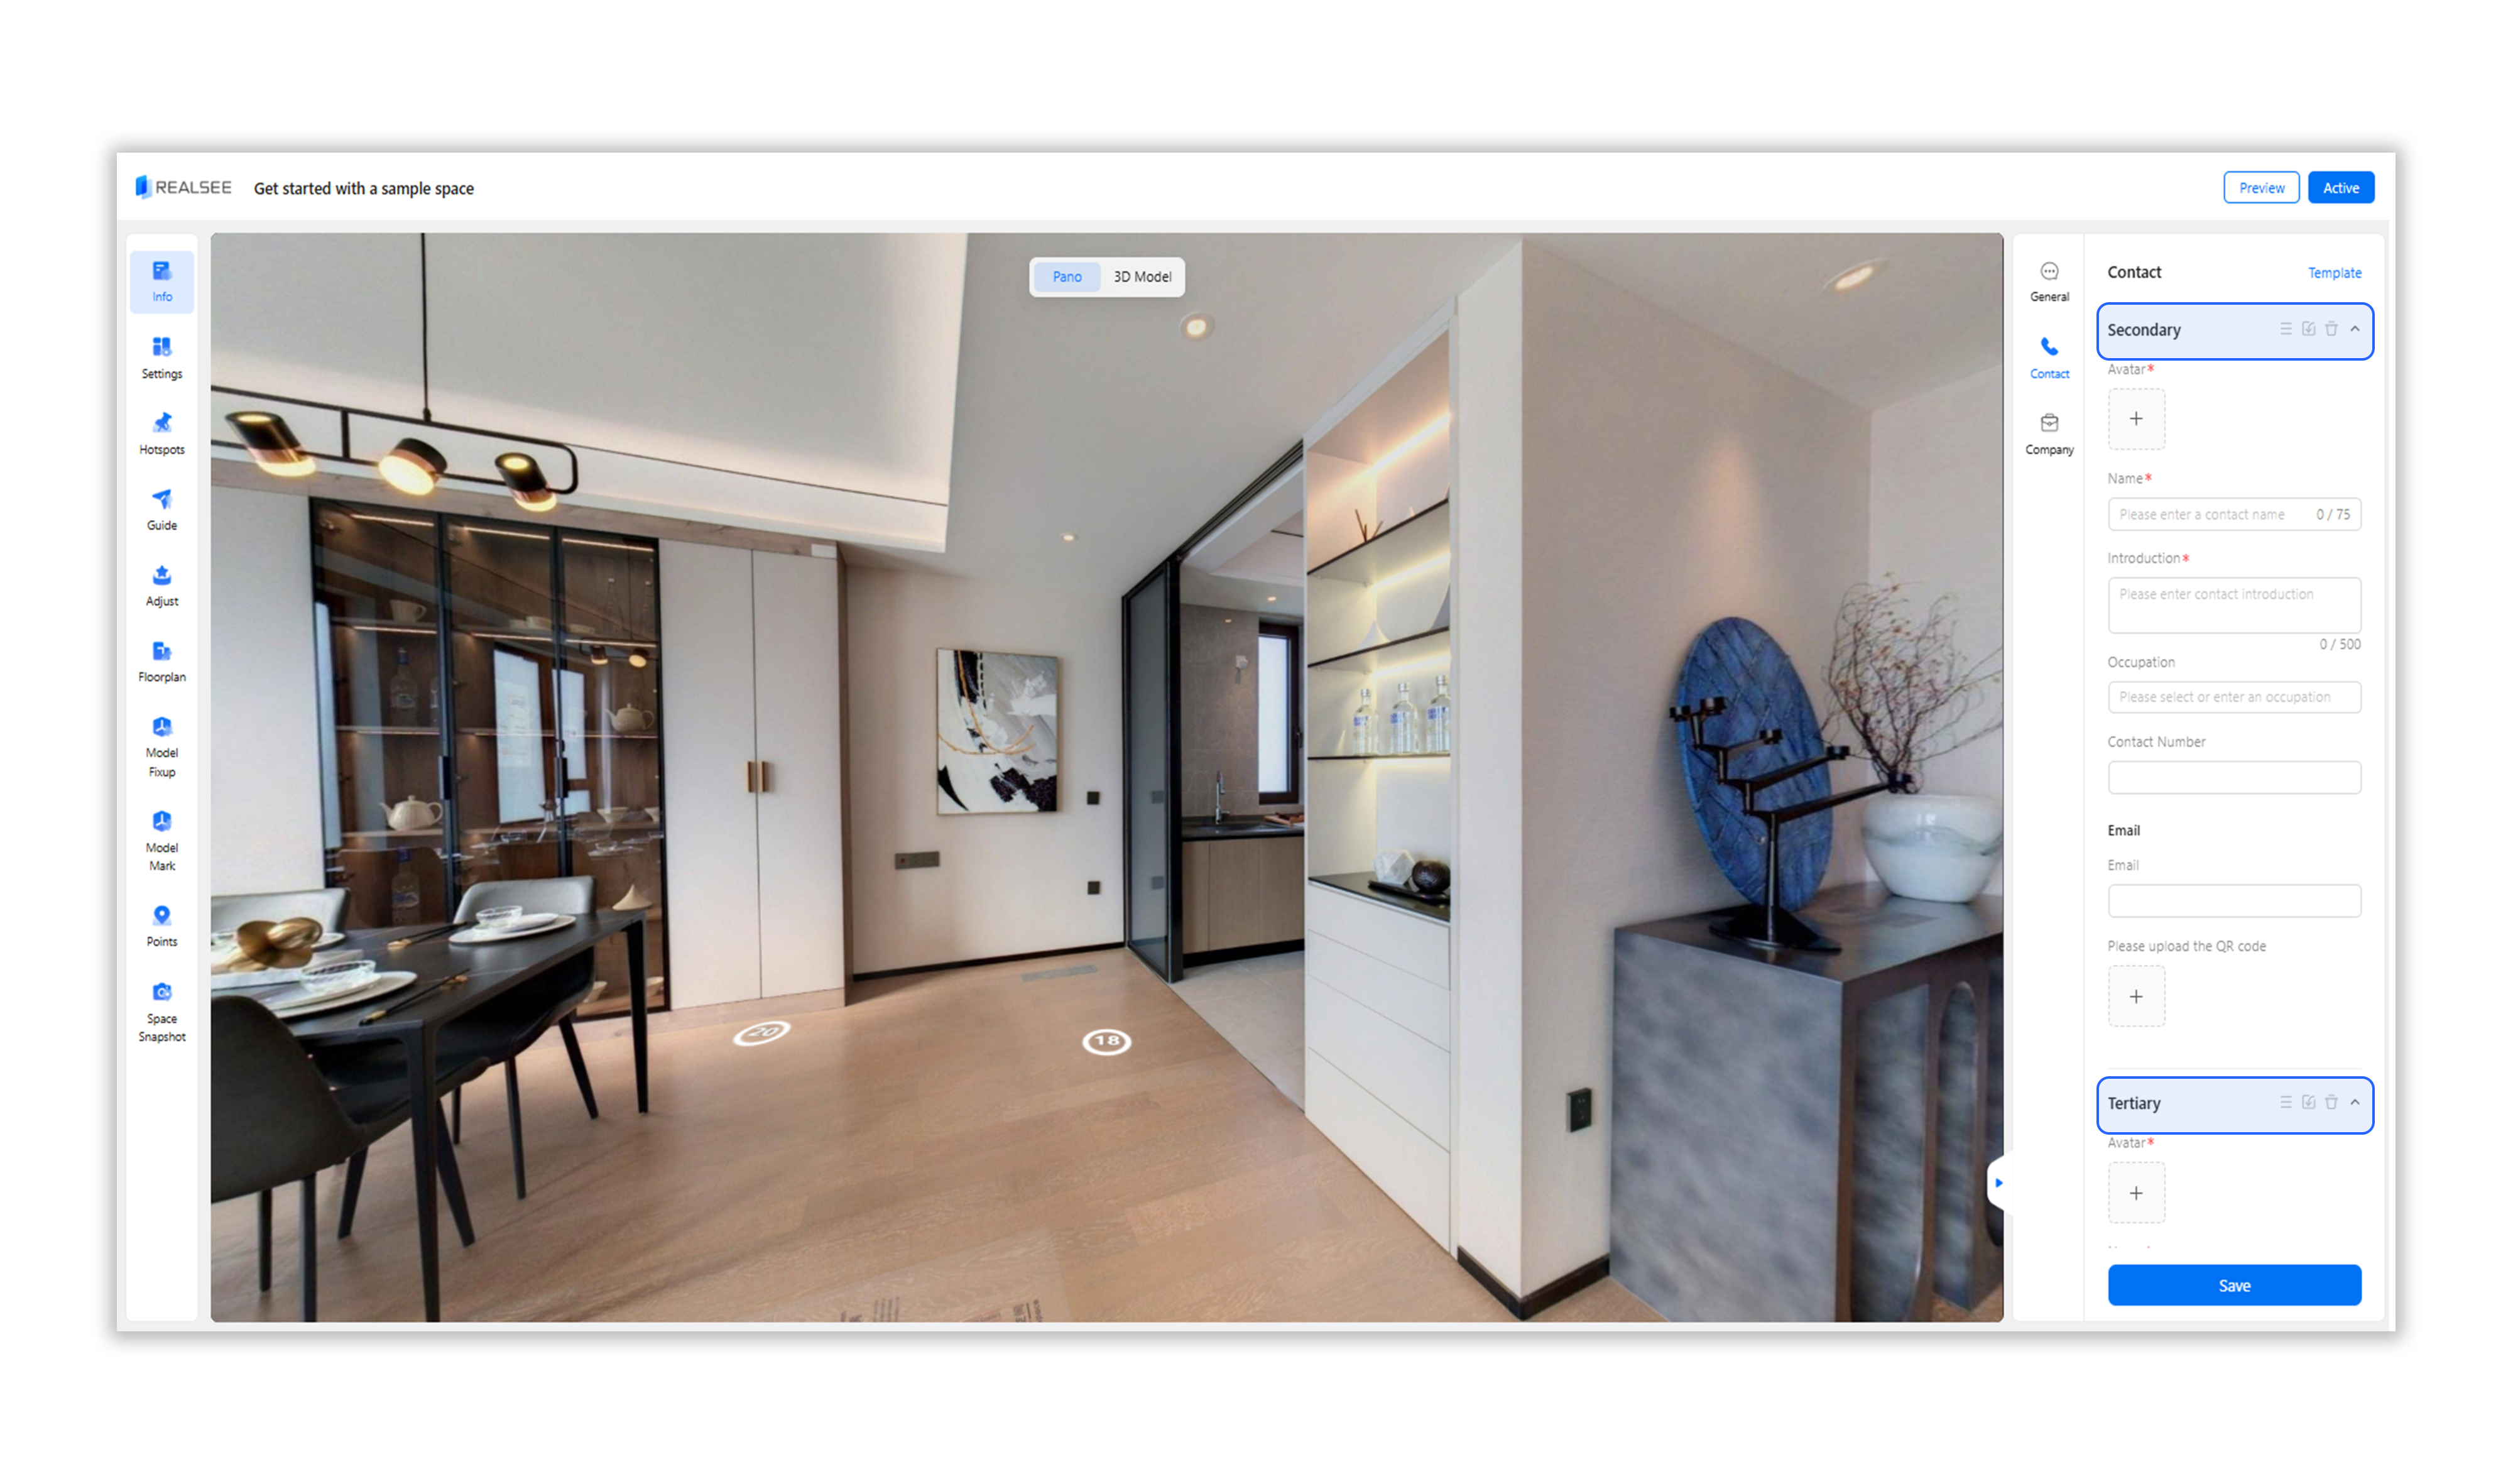
1. Contact
1.1 Avatar
The contact's avatar is displayed in the bottom toolbar of the Explore Page or in the Personal Information Pop-up.
Editing Steps:
- Navigate to Contact-Avatar.
- Upload the avatar image.
Note: Ensure that the uploaded content complies with platform guidelines to avoid violations.
1.2 Name
The contact's name is displayed in the bottom toolbar of the Explore Page or in the Personal Information Pop-up.
Editing Steps:
- Navigate to Contact-Name.
- Enter the contact's name.
Note: The name is limited to 75 characters.
1.3 Introduction
A brief introduction of the contact, displayed in the bottom toolbar of the Explore Page or in the Personal Information Pop-up.
Editing Steps:
- Navigate to Contact-Introduction.
- Enter the introduction text.
Note: The introduction is limited to 500 characters.
1.4 Occupation
The contact's occupation tag is displayed in the bottom toolbar of the Explore Page or in the Personal Information Pop-up.
Editing Steps:
- Navigate to Contact-Occupation.
- Enter the occupation name.
1.5 Phone Number
The contact's phone number is displayed in the bottom toolbar of the Explore Page or in the Personal Information Pop-up and can be clicked to call.
Editing Steps:
- Navigate to Contact-Contact Number.
- Enter the phone number using only digits.
1.6 Email
The contact's email is displayed in the Personal Information Pop-up.
Editing Steps:
- Navigate to Contact-Email.
- Enter the email address.